Who needs a donation receipt generator?
For any nonprofit organization, time is one of the most valuable resources. If you're looking for ways to free up more of that resource, we've got the workflow for you. With Formstack Documents and PayPal, you can automatically collect donations from donors and streamline the donation process.
With this tutorial, you can automatically generate all types of documents like letters, contracts, and more without having to type a single letter.
What do you need for this tutorial?
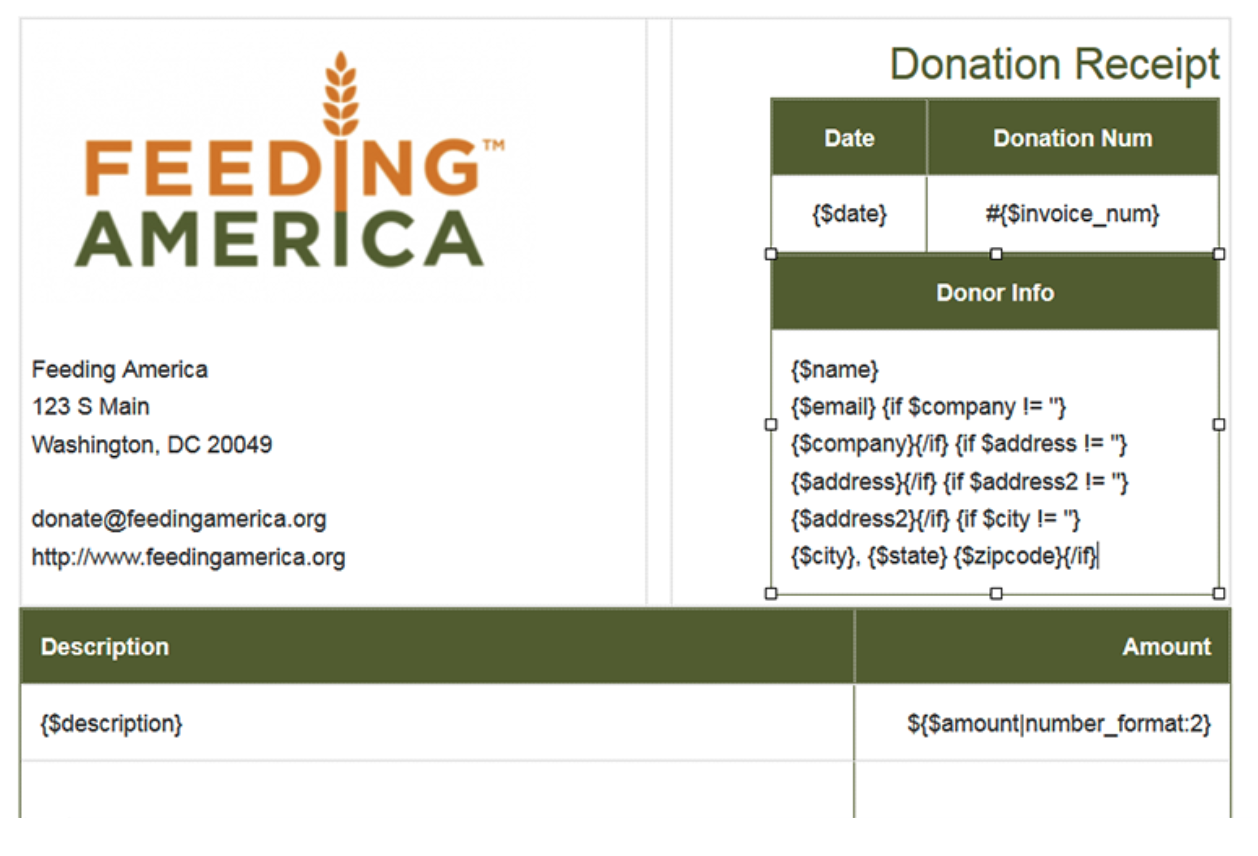
- A donation receipt template with merge fields ({$FirstName}, {$DealName}, etc.)
- PayPal account
- Formstack Documents account
- Your Formstack Documents API Key and Secret
Here's a look at the template we're using for this tutorial:
Follow these steps to automated receipt generation
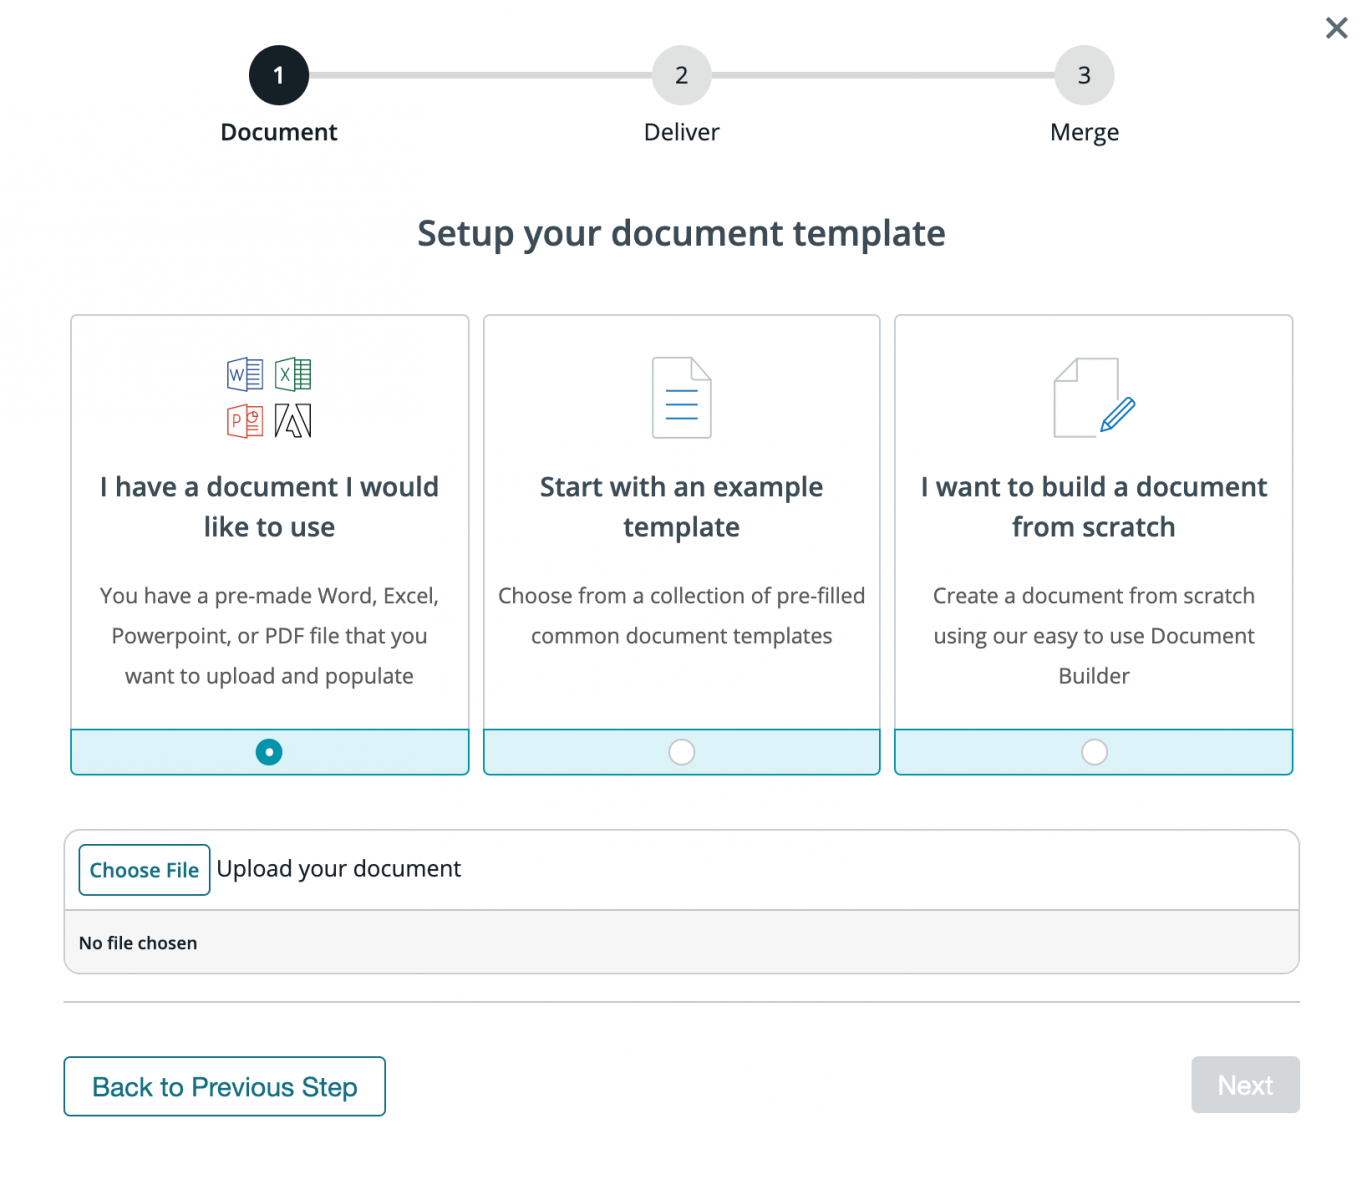
We’ll start in your Formstack Documents account. Select “New Document.” You’ll be prompted to give your document a title and set up your template. You have the option to upload a Microsoft Word document, Excel spreadsheet, PowerPoint, or PDF; to start with a Formstack Documents example template; or to build your document from scratch.
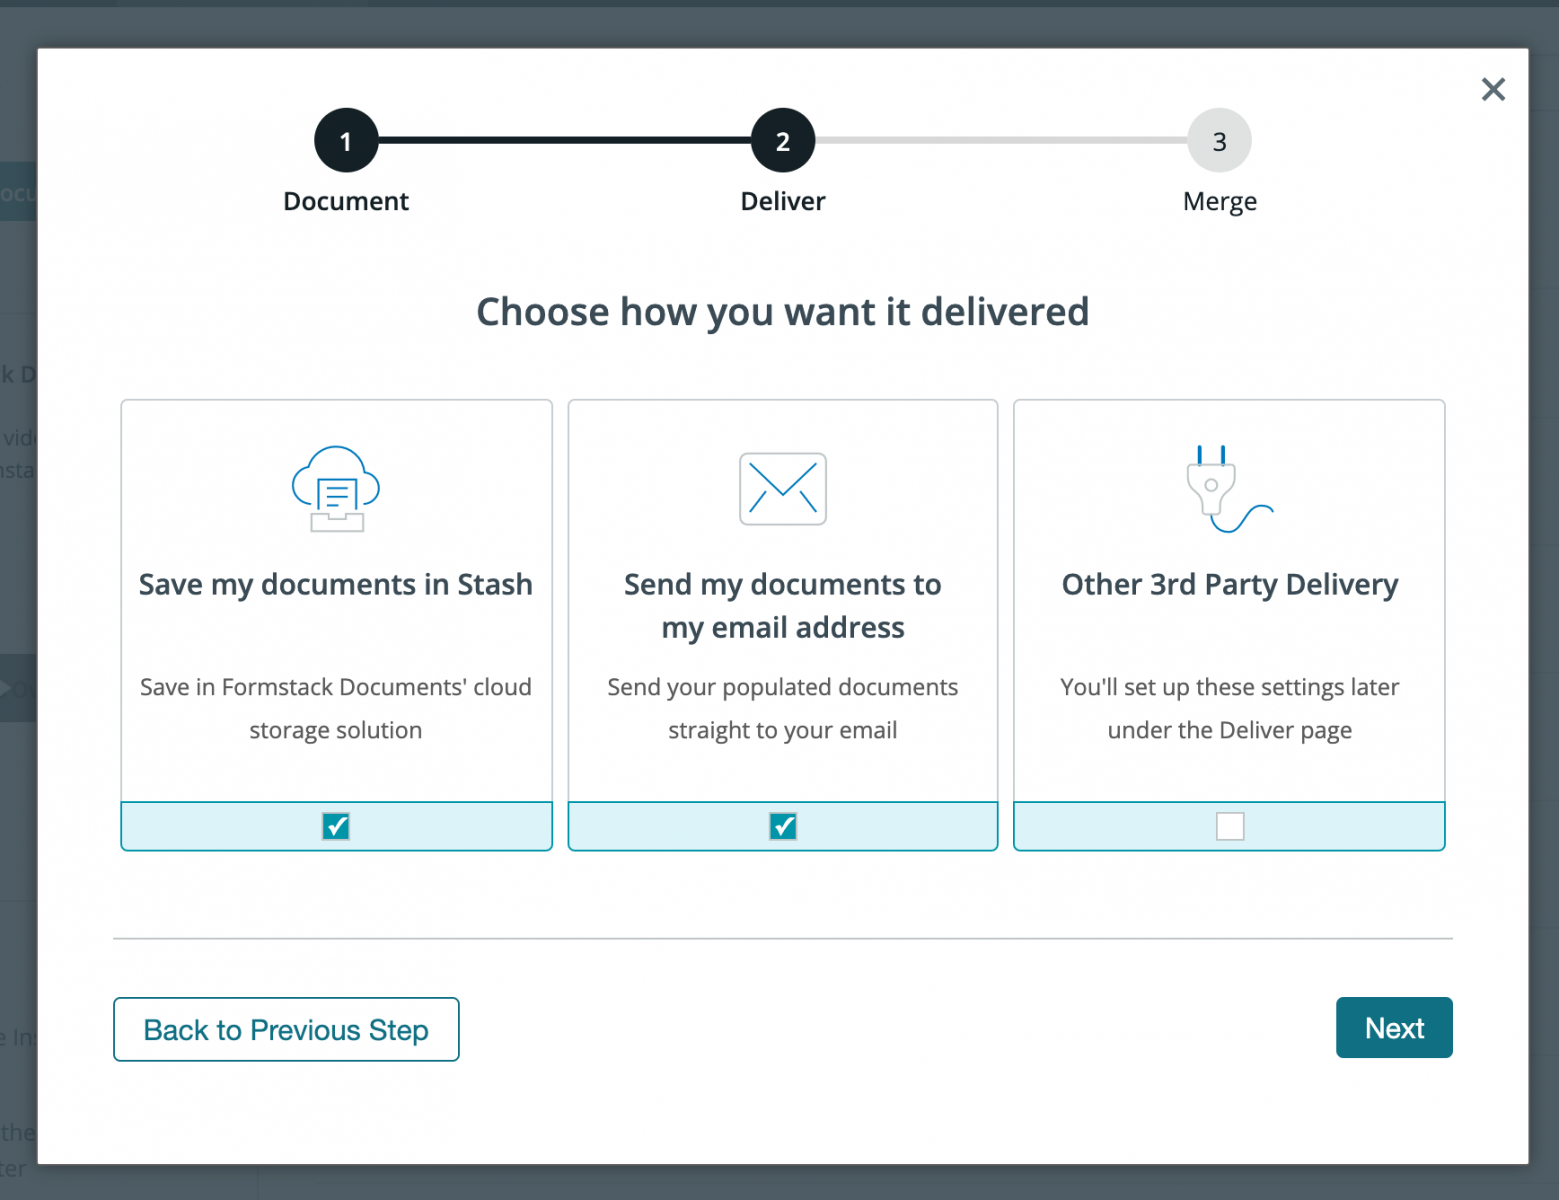
Next, choose how you want to deliver your populated document.
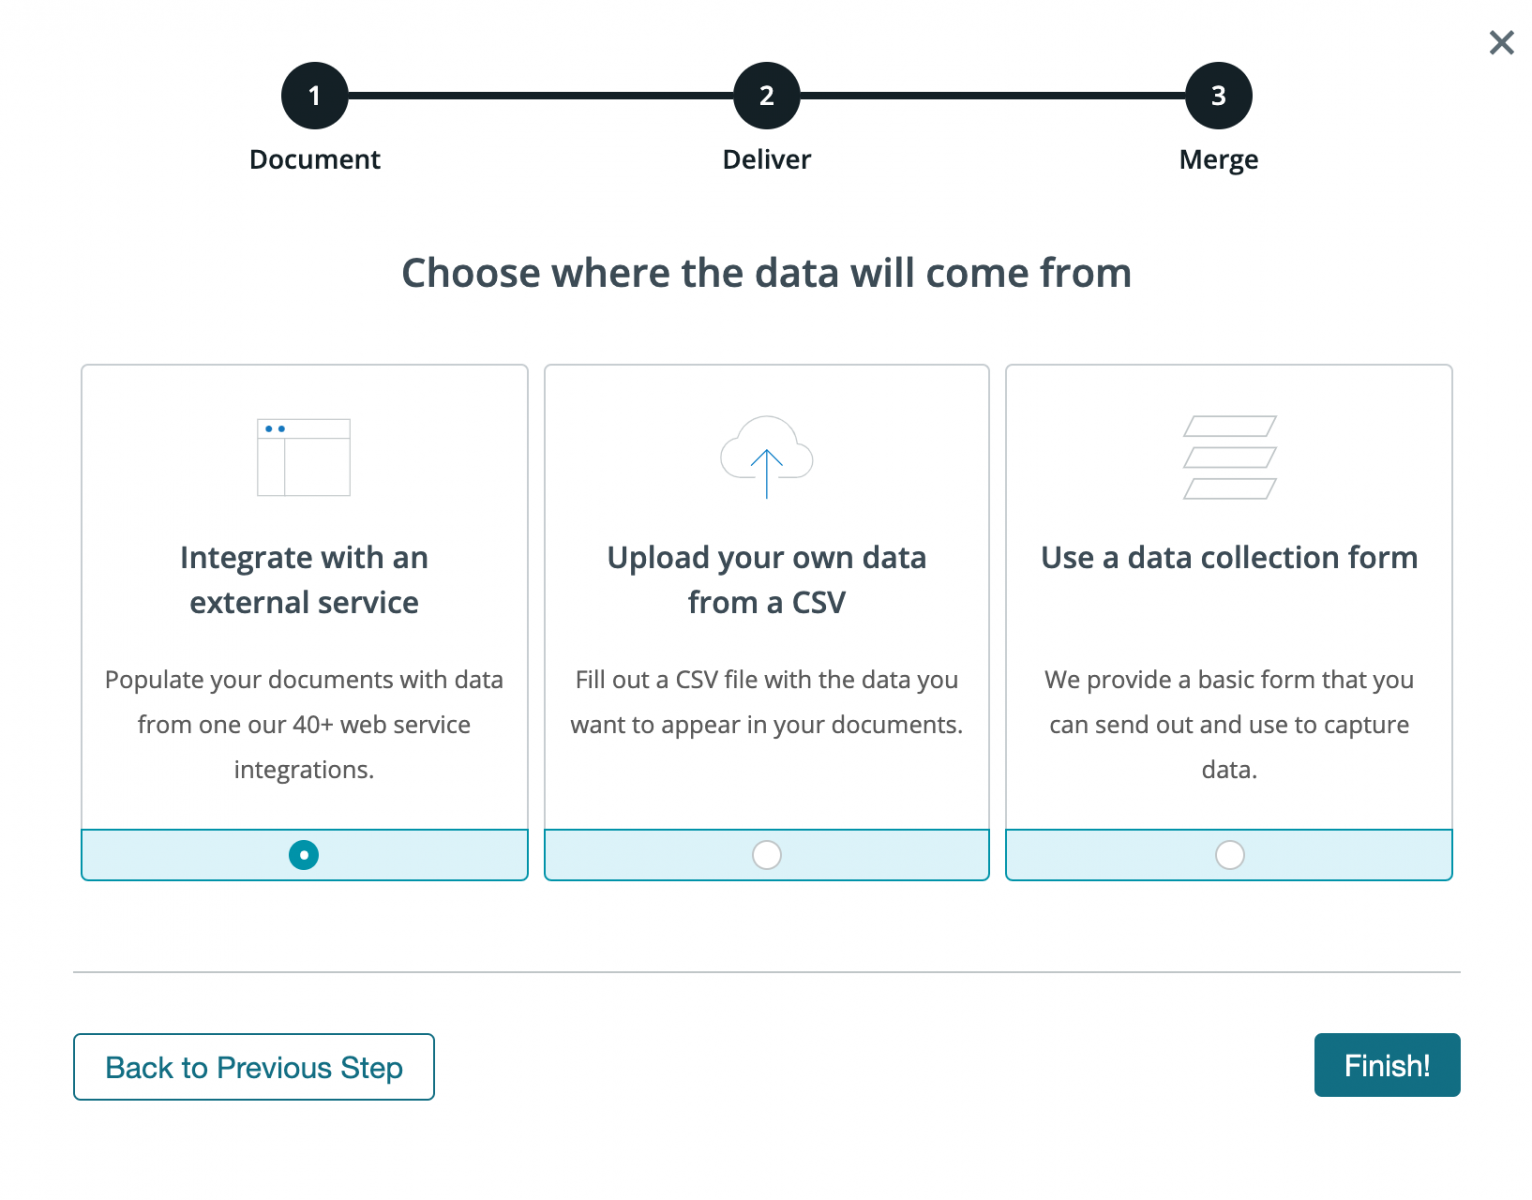
Finally, we need to choose where our data is coming from. We'll choose "Integrate with an external service" since we're connecting to PayPal.
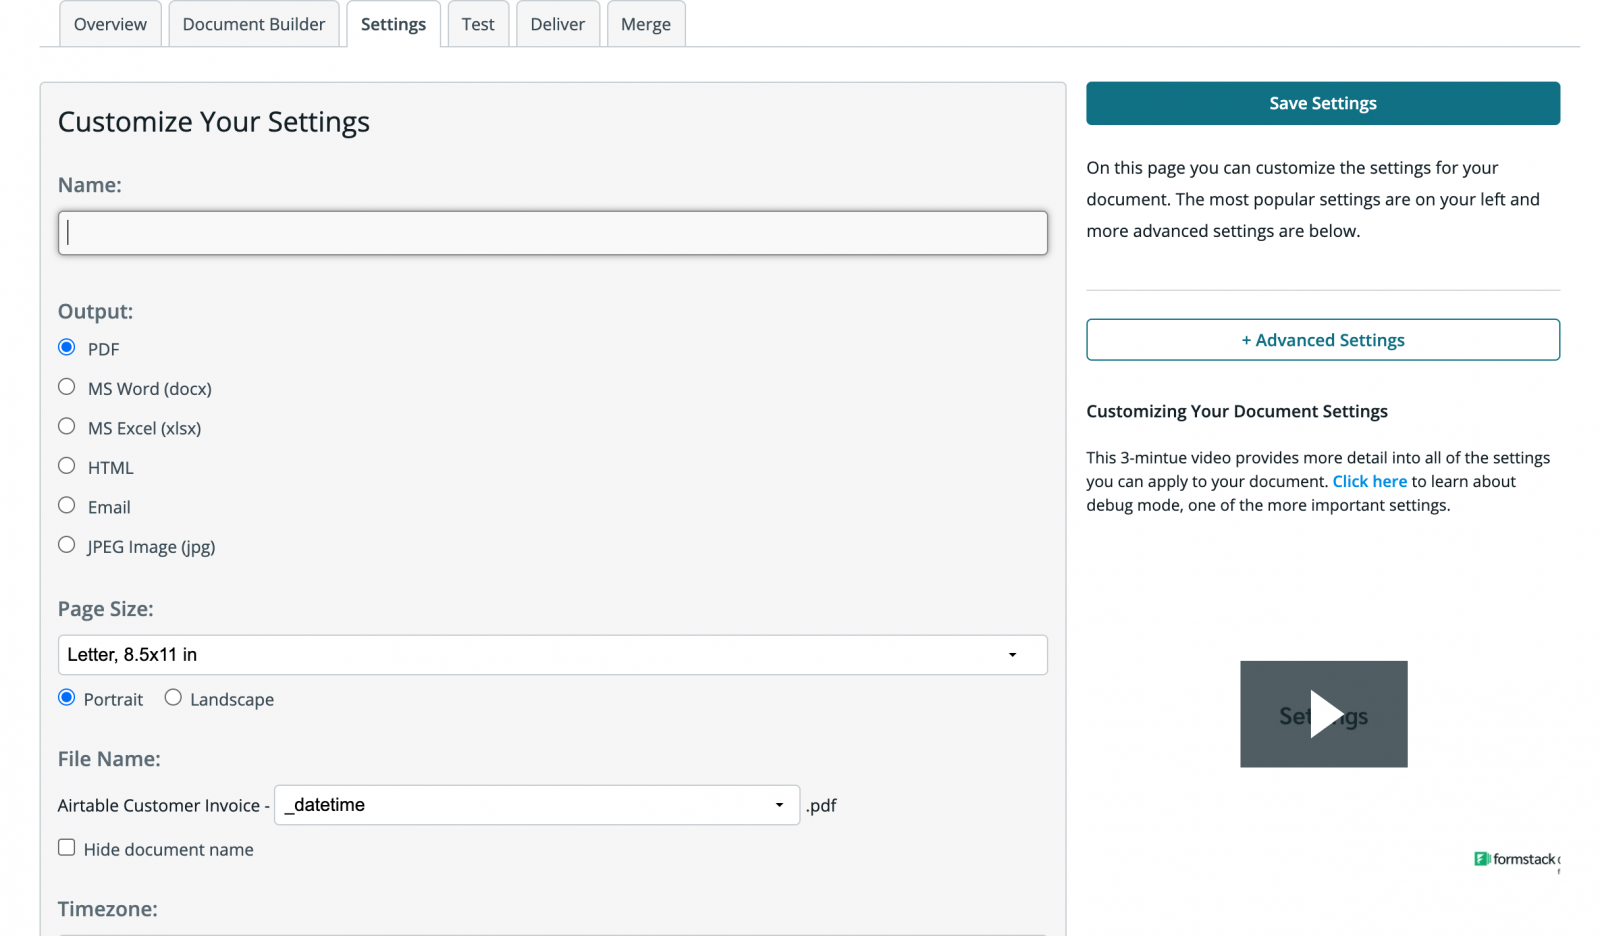
After you’ve uploaded your template, you’ll be taken to the Settings tab where you can modify various options like the type of file that is generated and the name of the file. For this example, we want our document output to be a PDF.
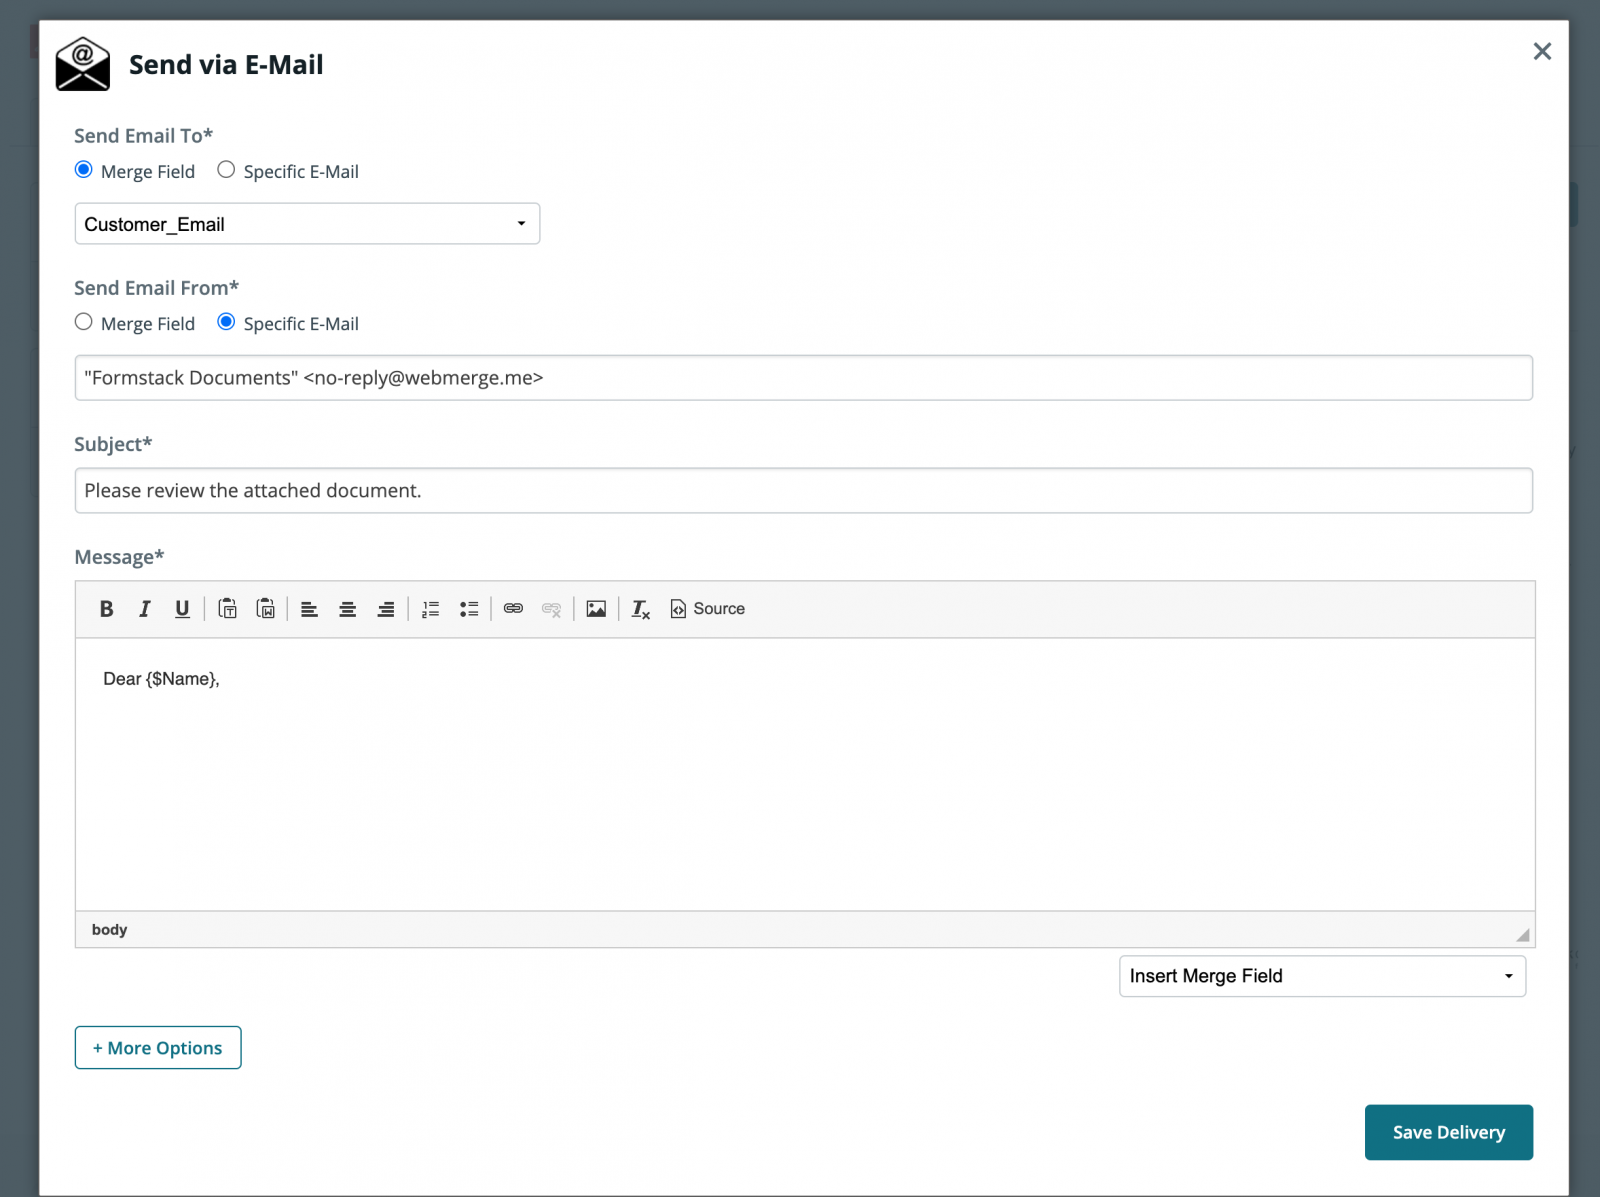
Our last step within our Formstack Documents account will be to set up the delivery of our receipt. Head over to the "Deliver" tab, and select "New Delivery." Here, you have lots of delivery options, but today, we're just going to set up an email. You can use a merge field from your document to import the donor's email address from their PayPal submission.
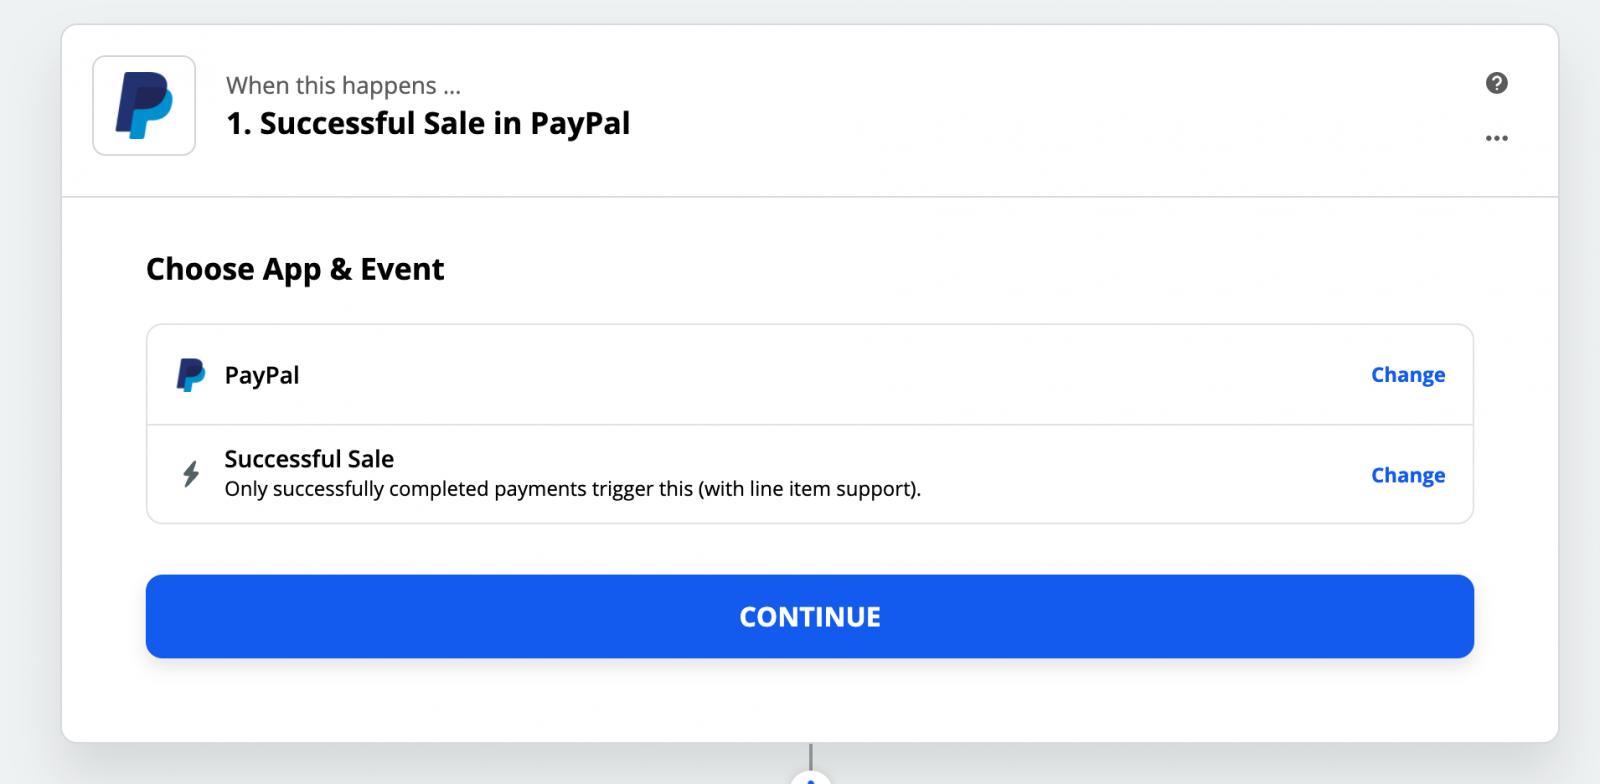
Next, we'll set up our integration with PayPal using Zapier. In Zapier, click the New Zap button, and then pick PayPal as the Trigger service and Successful Sale as the trigger.
After you authenticate your PayPal account, Zapier will have you load a test payment to make sure everything is working. Follow those steps and continue. For the Action of our Zap we're going to choose Formstack Documents as the service and then "Create Document Merge" as the action.
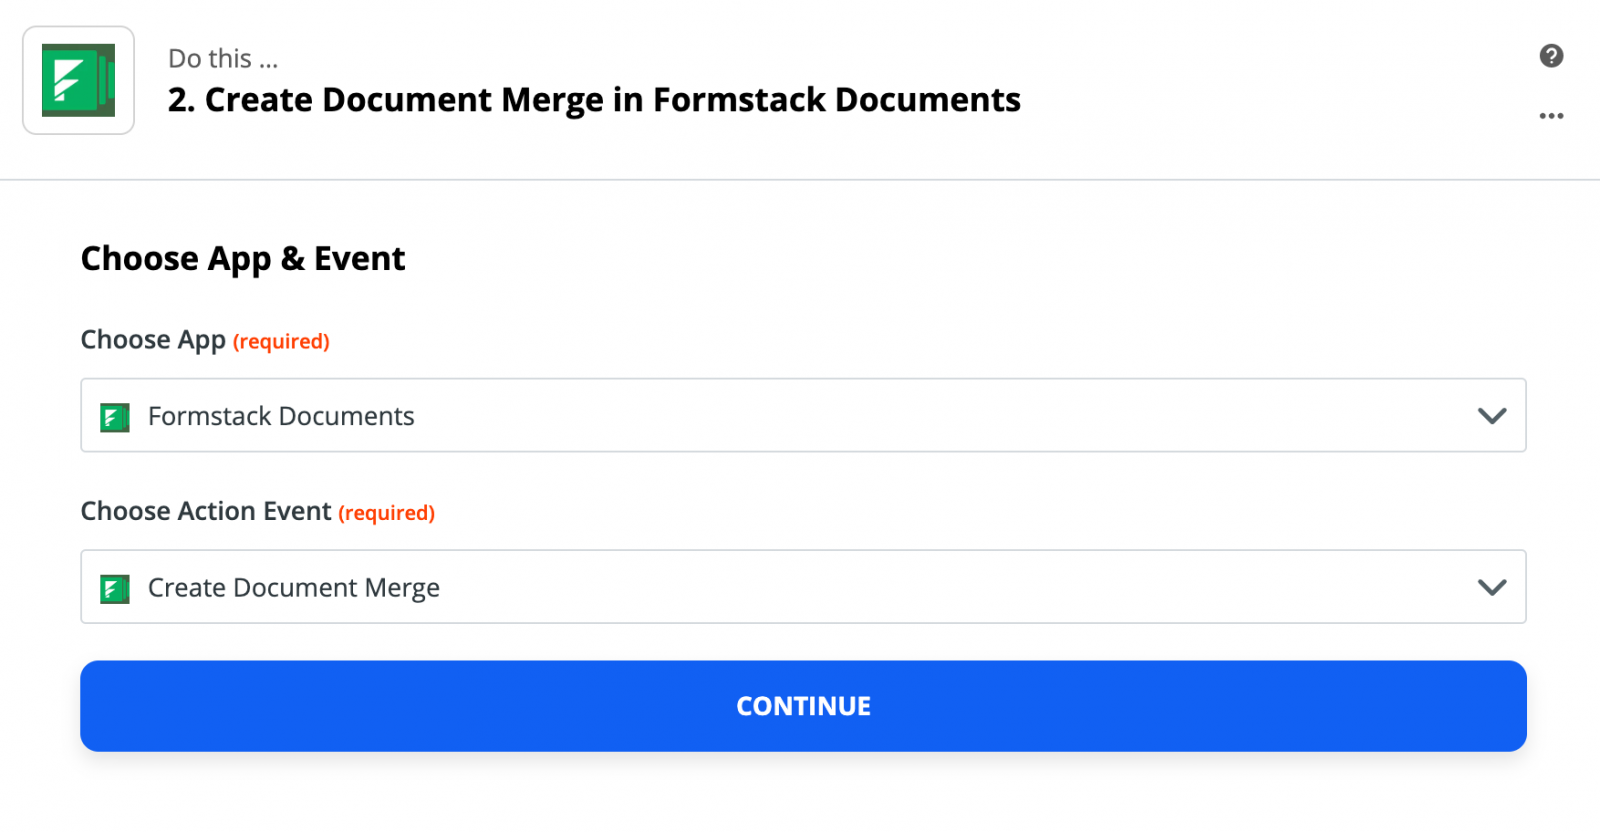
After you authenticate your Formstack Documents account, Zapier is going to load a list of the documents in your account. Â Go ahead and pick the letter you set up at the start of the tutorial. Then, Zapier will load a list of all the merge fields in your document.
For each of the merge fields, you'll need to pick the corresponding fields from PayPal. This tells Zapier how to send your payment data over to Formstack Documents so that it is populated in the correct spot on your template.
Once you have matched up all of your merge fields, save your Zap and run a test. Submit some test payment data to ensure your workflow is working properly.. Zapier will send that payment data over to Formstack Documents, and your letter will be generated.
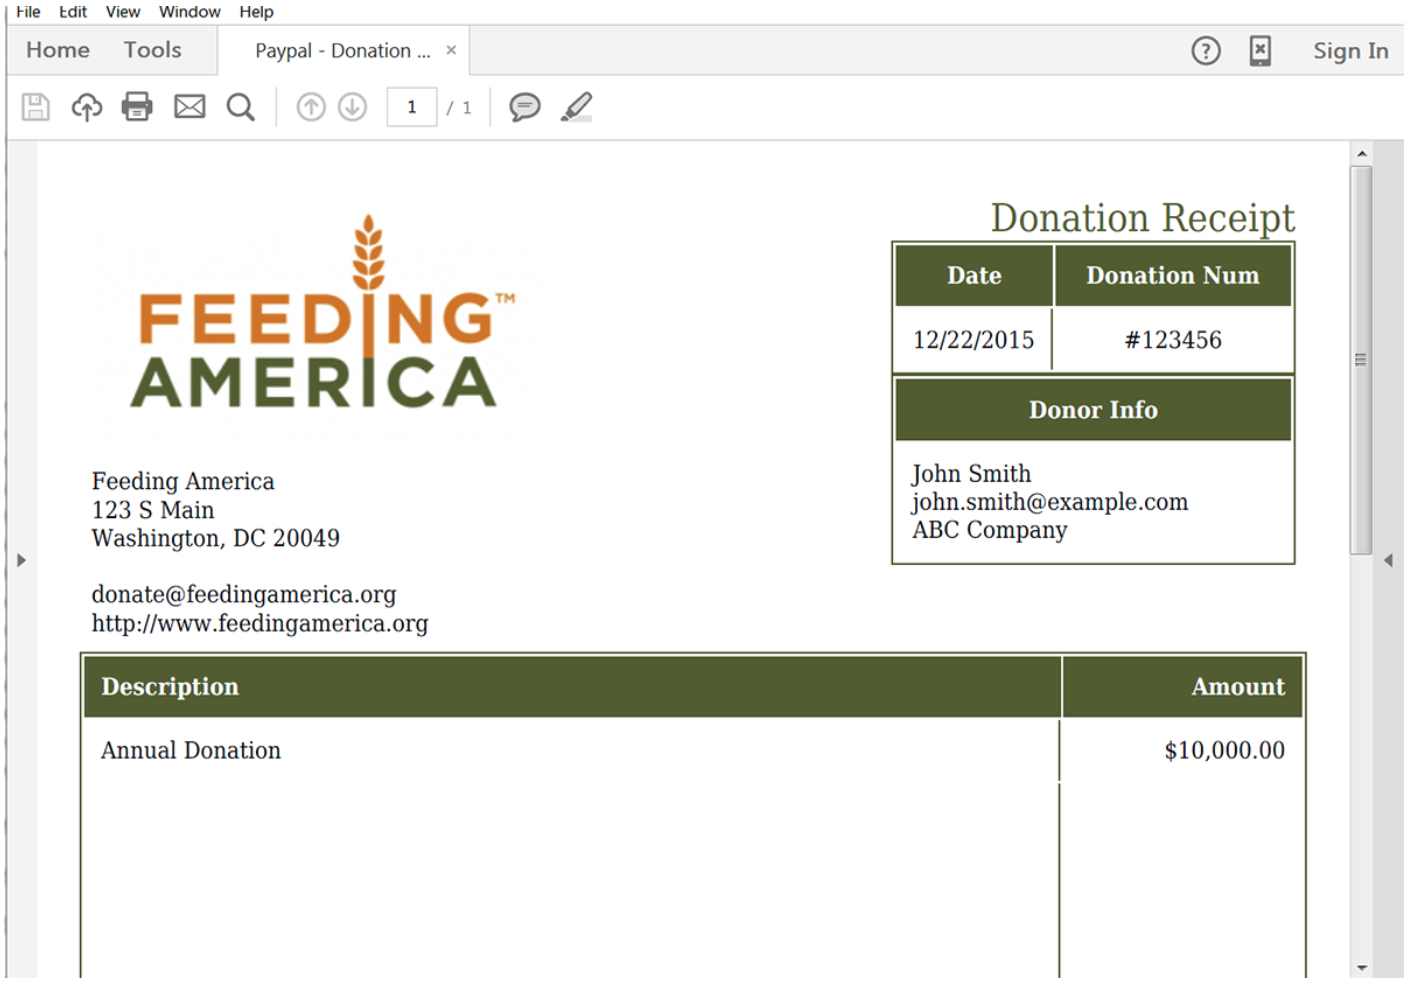
Here's what our merged document looked like:
